Hey Loves,
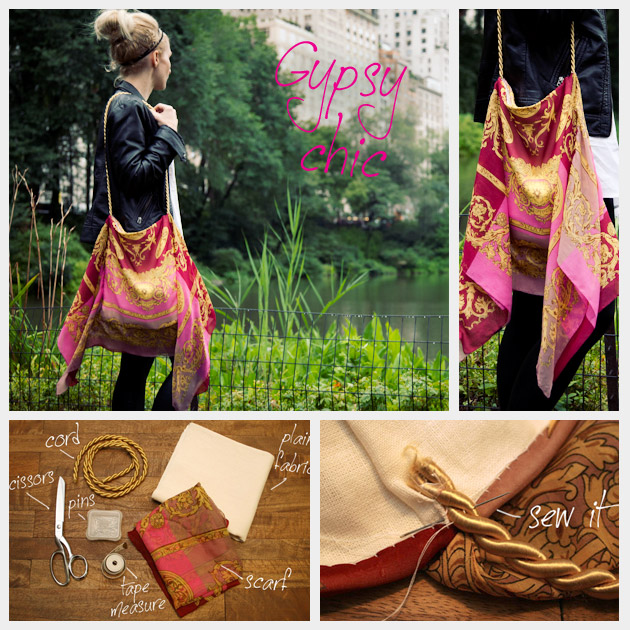
check out this.This Scarf Bag DIY turns a fashion scarf into a hip bag that will add a splash of color to any outfit.
What you’ll need to make your Scarf Bag DIY:
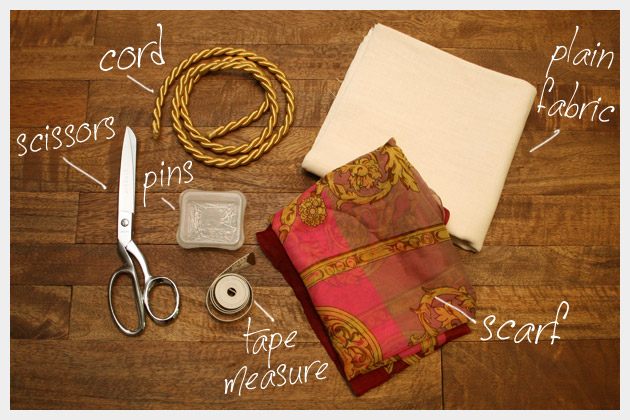
- 1 Large Scarf
- 1 Yard of half inch cord
- 1 Yard of plain fabric or a bag to cover
- Pins
- Scissors
- Needle & thread
- Sewing machine
Step 1
Starting with your plain fabric measure 14 inches across and at least 14 inches long. I folded mine twice as you can see in the pictures, so my bag would be doubled with no raw edges sticking out. Pin your seams.
Step 2
Sew your side seams and your top seam, leaving about 3 inches open so you can turn your bag right side out.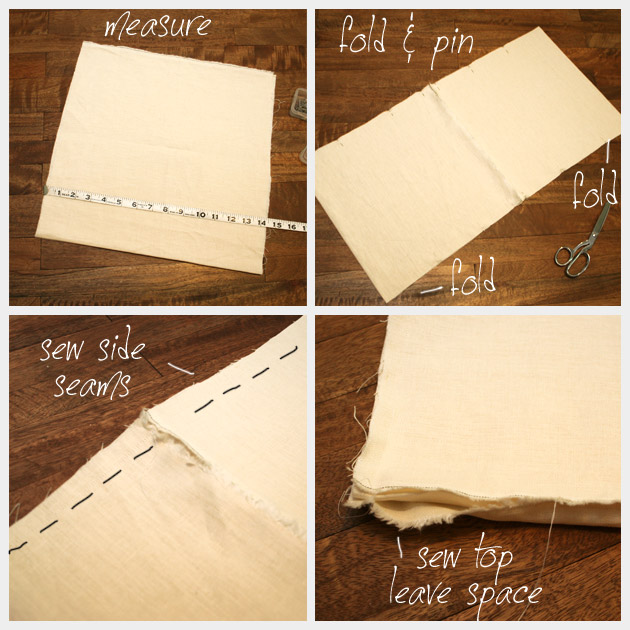
Sew your side seams and your top seam, leaving about 3 inches open so you can turn your bag right side out.

Step 3
Turn your bag right side out, fold it around so that one fits inside the other making your bag a double layer.
Once your bag is turned right side out, take your needle and thread and hand stitch the opening closed.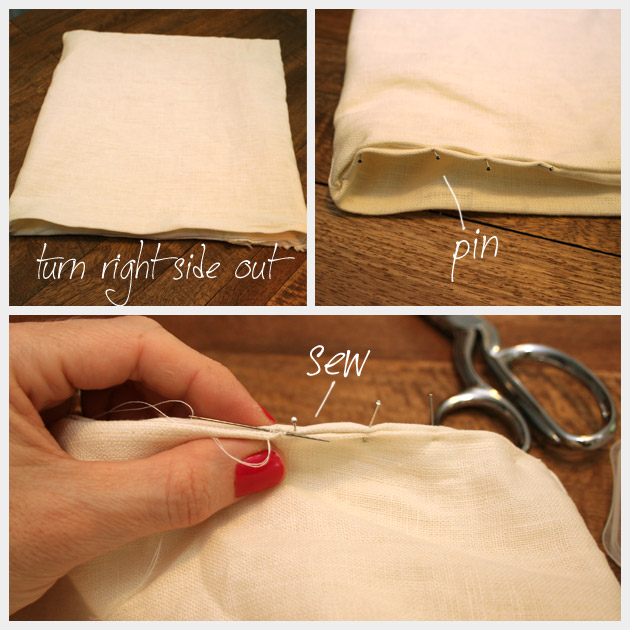
Turn your bag right side out, fold it around so that one fits inside the other making your bag a double layer.
Once your bag is turned right side out, take your needle and thread and hand stitch the opening closed.

Step 4
Layout your scarf and decide what part you want to have as your focus on the bag. Since my scarf had stripes I had to decide if I wanted them horizontal or vertical. If your scarf has a solid background you wont have to worry about this.
Once you’ve decided how you want your scarf to look, cut it in half.
Step 5
Lay your 2 scarf pieces together with right sides facing. Lay your bag on top in the center to measure the opening you’ll need to leave. Pin your sides and using your sewing machine, sew your sides across from the bag opening to the edge of your scarf.
Lay your 2 scarf pieces together with right sides facing. Lay your bag on top in the center to measure the opening you’ll need to leave. Pin your sides and using your sewing machine, sew your sides across from the bag opening to the edge of your scarf.
Step 6
Turn your scarf right side out and lay it flat on the table. Place your bag on top and measure around it marking with pins where you will be sewing. Mark all the way around your bag. Be sure to leave at least a half inch of scarf fabric at the top opening of your bag. (You will be folding this over inside the bag and stitching it down later.)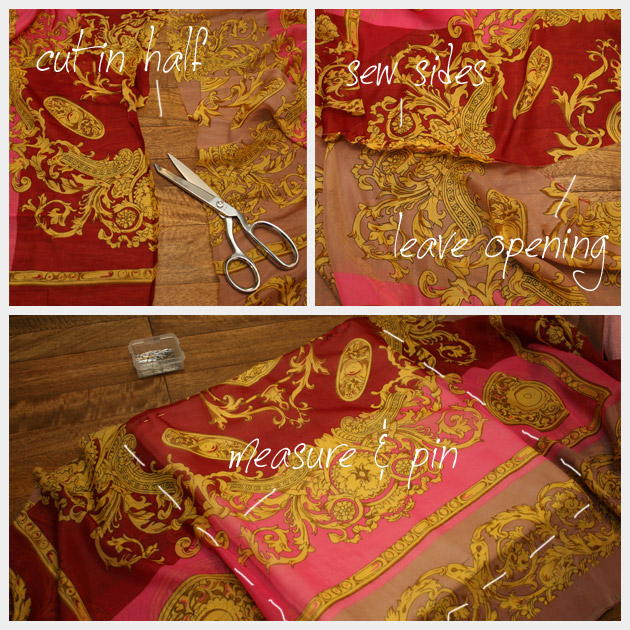
Turn your scarf right side out and lay it flat on the table. Place your bag on top and measure around it marking with pins where you will be sewing. Mark all the way around your bag. Be sure to leave at least a half inch of scarf fabric at the top opening of your bag. (You will be folding this over inside the bag and stitching it down later.)

Step 7
Using your sewing machine sew a seam all the way around your bag, this seam will be on the outside of your bag, you will not be turning it around.
Using your sewing machine sew a seam all the way around your bag, this seam will be on the outside of your bag, you will not be turning it around.
Step 8
Slide your bag inside the pocket you just sewed.
Slide your bag inside the pocket you just sewed.
Step 9
Fold the top edge over and pin it down. I folded mine over twice to avoid any raw edges.
Step 10
Using your needle and thread, stitch your scarf to your bag.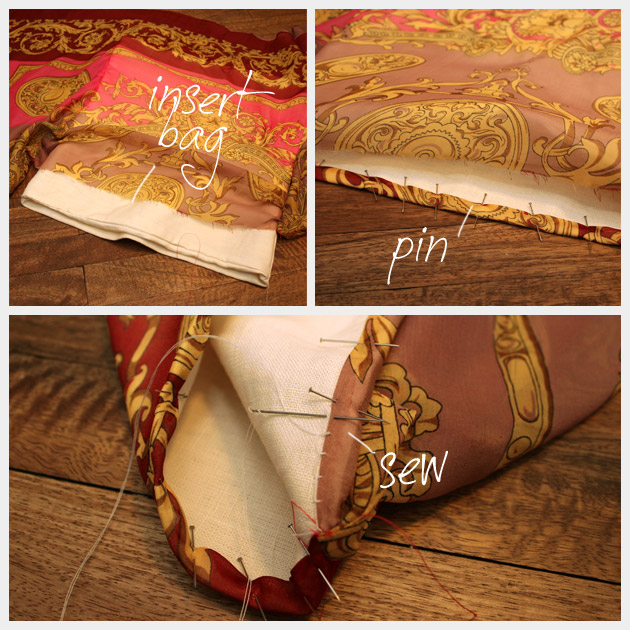
Fold the top edge over and pin it down. I folded mine over twice to avoid any raw edges.
Step 10
Using your needle and thread, stitch your scarf to your bag.

Step 11
Take your cord and place it on the inside corner of your bag, at least 1 inch down. Sew it tightly in place. Do the same for the other side.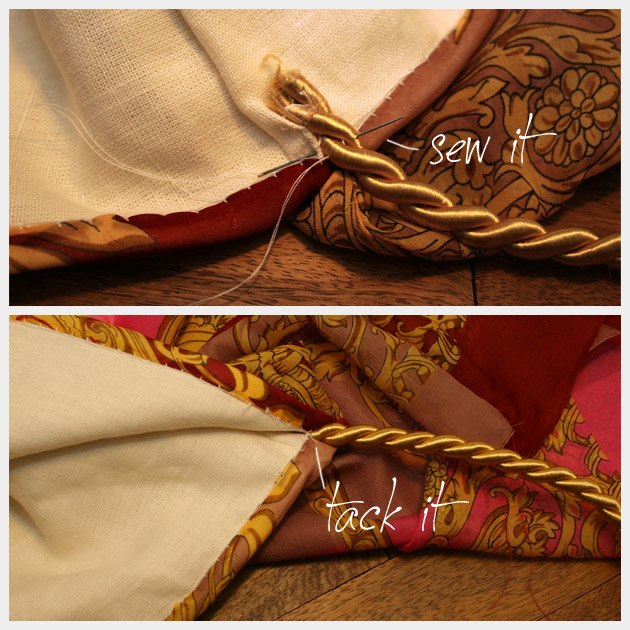
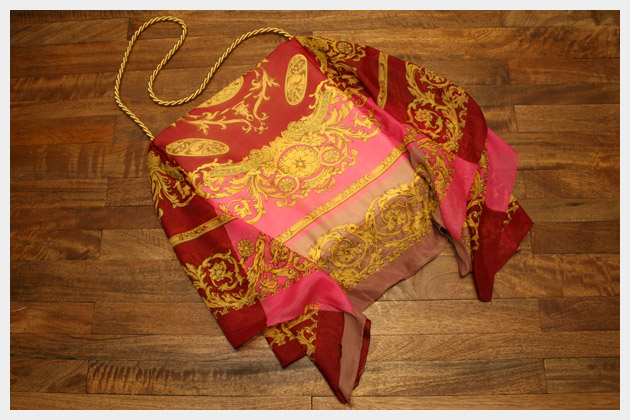
Take your cord and place it on the inside corner of your bag, at least 1 inch down. Sew it tightly in place. Do the same for the other side.


Try and post in the comment box. i will too.
Love
phyl
xoxo
Love
phyl
xoxo
